Creating a WPS account is the first step toward accessing the full range of productivity tools offered by WPS Office. By signing up through the WPS Official Website, users can enjoy cloud storage, document collaboration, and seamless integration across multiple devices. This article provides a step-by-step guide on how to create a WPS account from the official website homepage.
Understanding the Benefits of a WPS Account
A WPS account allows users to unlock all premium features, including cloud backup, document sharing, and synchronization across devices. By registering through the WPS官网 , users ensure that they are accessing a secure and official platform. The account also provides access to templates, fonts, and additional resources that enhance productivity.
Accessing the WPS Official Website
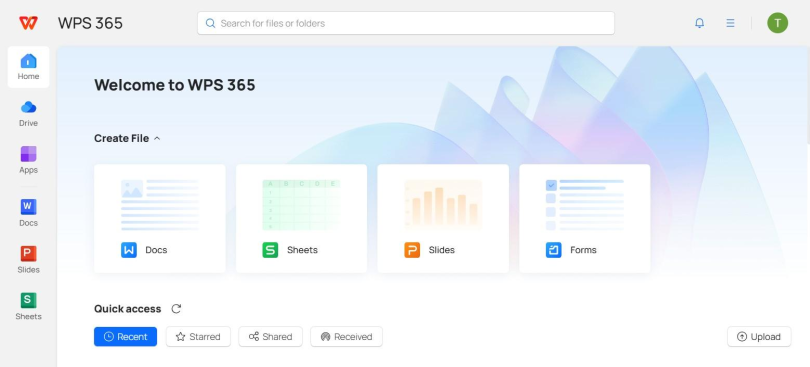
To start the account creation process, open a web browser and visit the WPS Official Website. The homepage is designed to be user-friendly, with clear navigation options for downloading software, accessing templates, and managing accounts. Ensuring you are on the official website is crucial to avoid scams or unofficial versions of the software.
Navigating to the Sign-Up Page
Once on the homepage, look for the “Sign Up” or “Register” button. This button is usually located at the top right corner of the screen. Clicking this will take you to the account registration page, where you can begin entering your personal information. Using the WPS Official Website guarantees that your personal data will be handled securely.
Filling in Your Personal Information
On the registration page, you will be asked to provide basic information, such as your email address, phone number, and a strong password. Ensure that the password is secure and unique to protect your account. You may also be required to verify your email or phone number to complete the registration process.
Choosing Your Account Type
WPS Office offers different account types based on usage needs. For personal use, a free account is sufficient to access most features, while premium accounts provide additional storage and advanced tools. Selecting the correct account type ensures that you can maximize the benefits offered by the WPS Official Website.
Verifying Your Account
After filling in the required information, WPS will send a verification email or message. Click on the verification link to confirm your identity and activate your account. Verification helps secure your account and ensures that you can recover it easily in case you forget your login credentials.
Logging In and Exploring Features
Once your account is verified, log in to the WPS Official Website using your email and password. You can now access cloud storage, document collaboration tools, templates, and many other features. The dashboard is intuitive, allowing users to manage their documents and settings effortlessly.
Tips for Maintaining Your WPS Account
To ensure smooth usage, regularly update your password and review security settings. Keep your account information accurate and up-to-date to benefit from the latest features and notifications. Using the WPS Official Website for account management ensures your data remains secure and easily accessible from any device.
Conclusion
Creating a WPS account from the official website homepage is a simple and secure process that opens up numerous productivity tools and features. By following the steps outlined above, users can ensure they register safely, verify their information, and enjoy seamless access to WPS Office services. Always use the WPS Official Website for account creation and management to guarantee security, reliability, and access to the latest updates.